
The Serious Freshening
Go to <Last, Summary, Next>Engine—Fix Eroded Exhaust Ports
 Lynn in Bugsby, September 5, 2005 |
Completed: 2006-02-22 — Started: 2006-02-20
 |
 |
 |
 |
 |
 |
 |
 |
 |
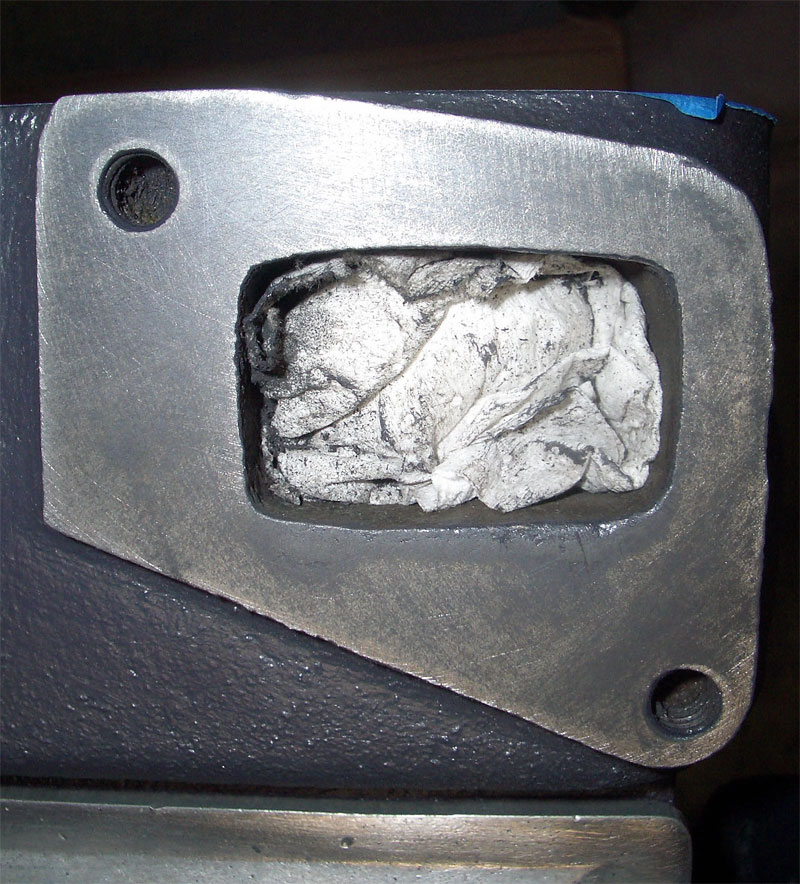 |
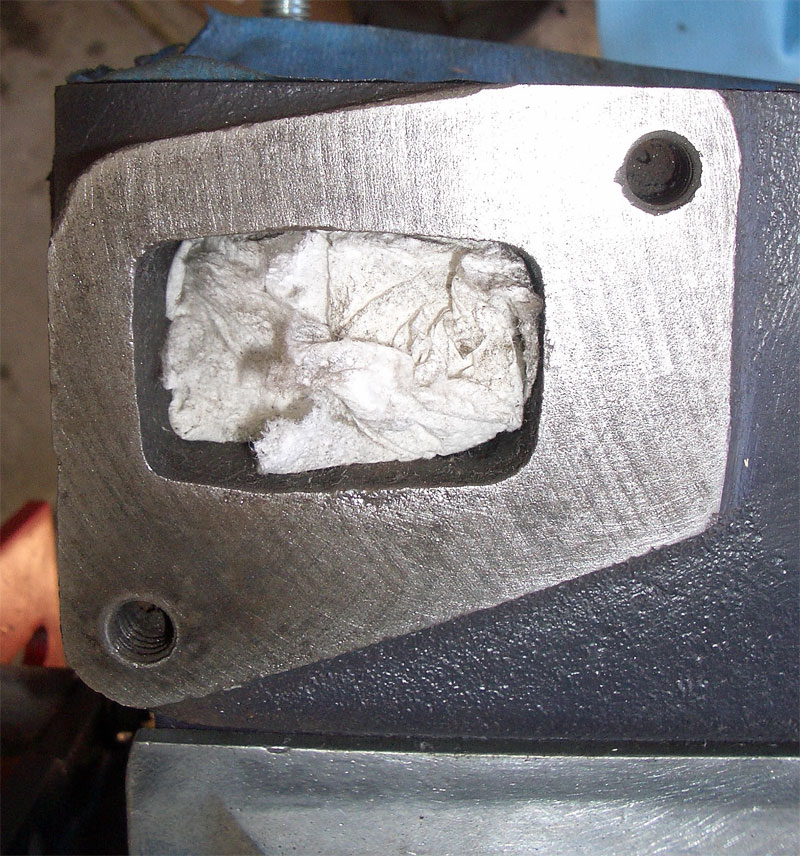
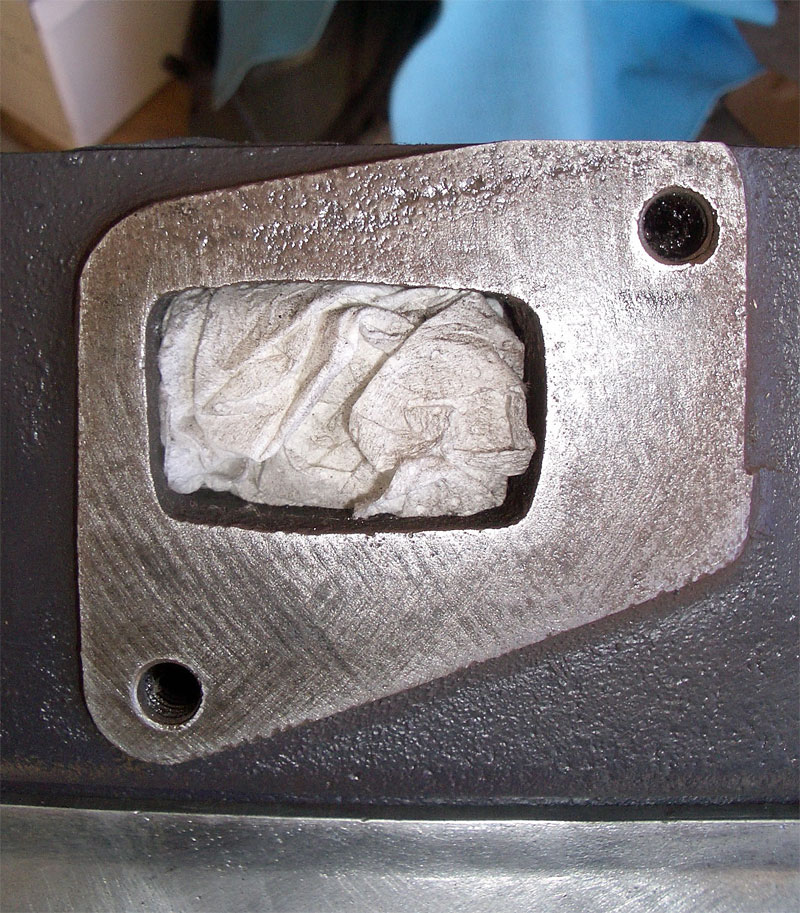
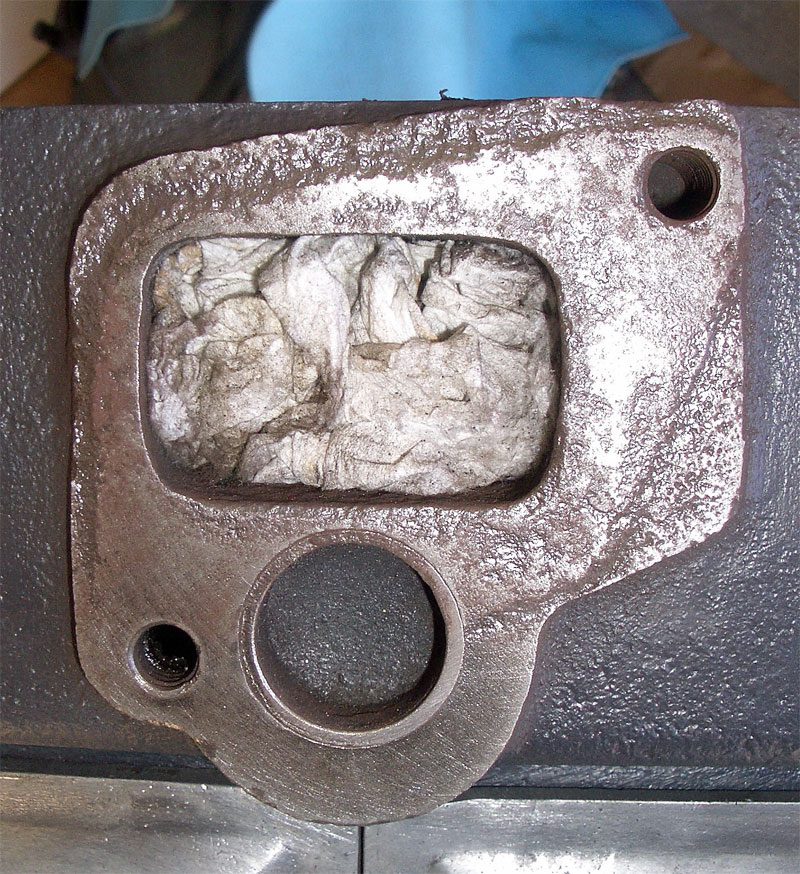
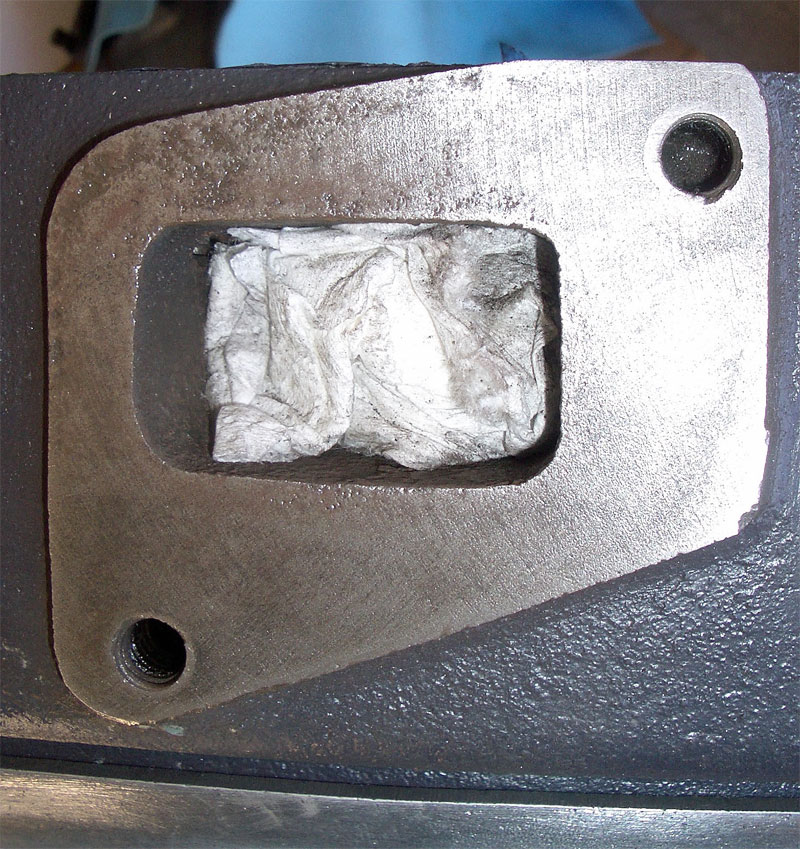
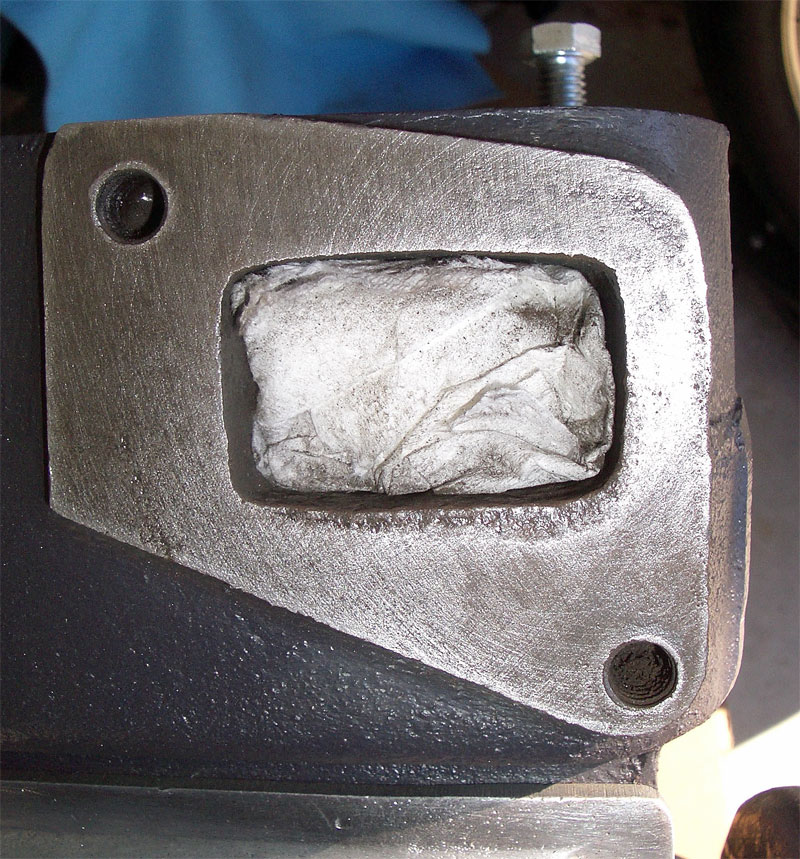
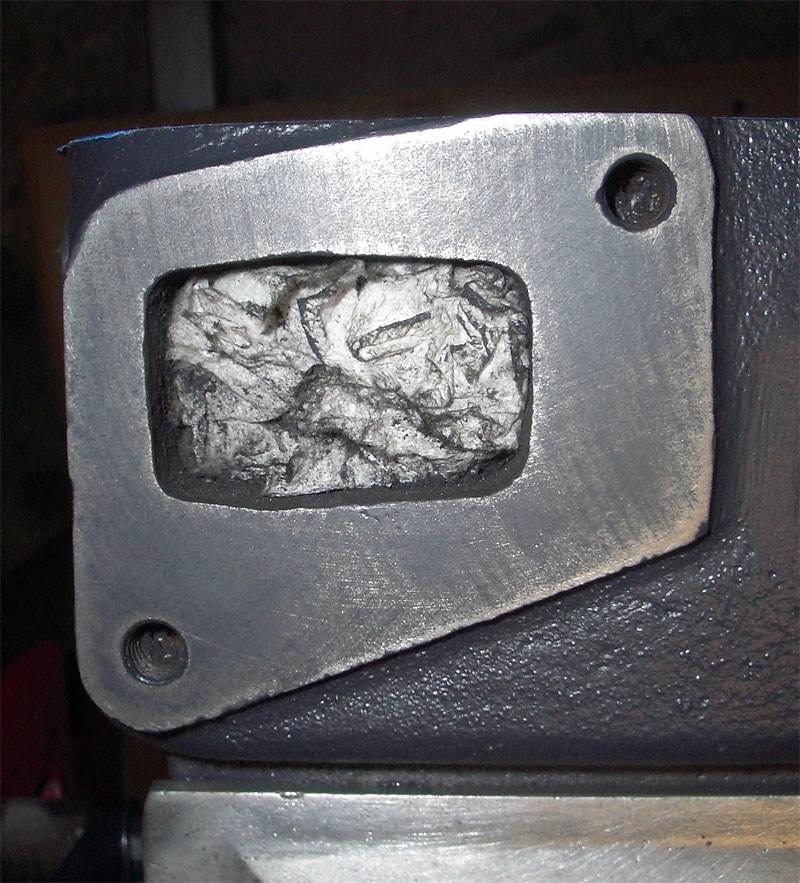
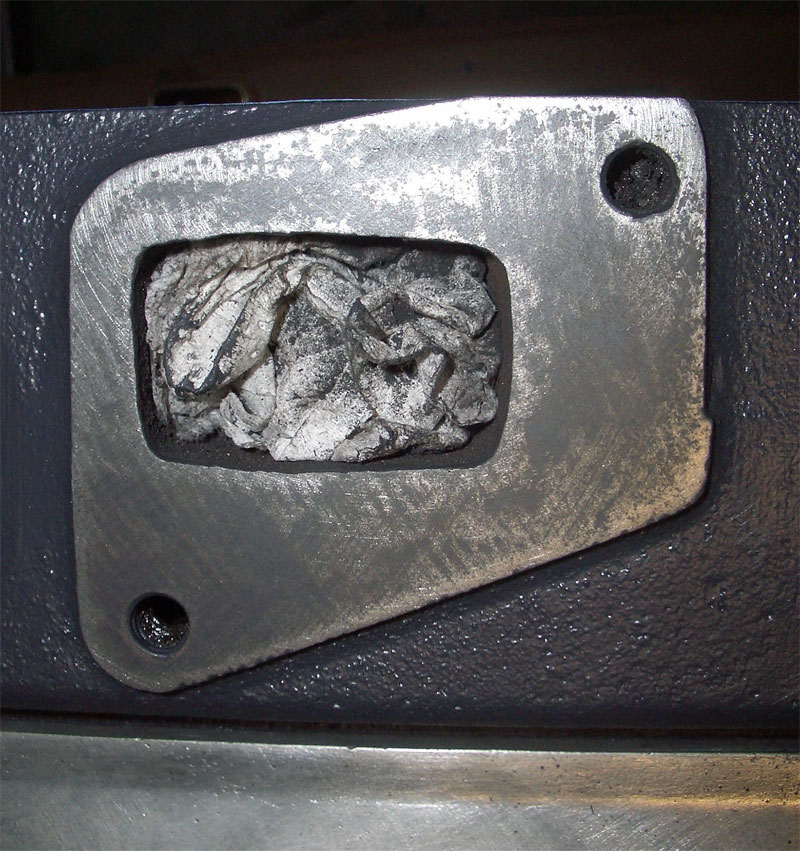
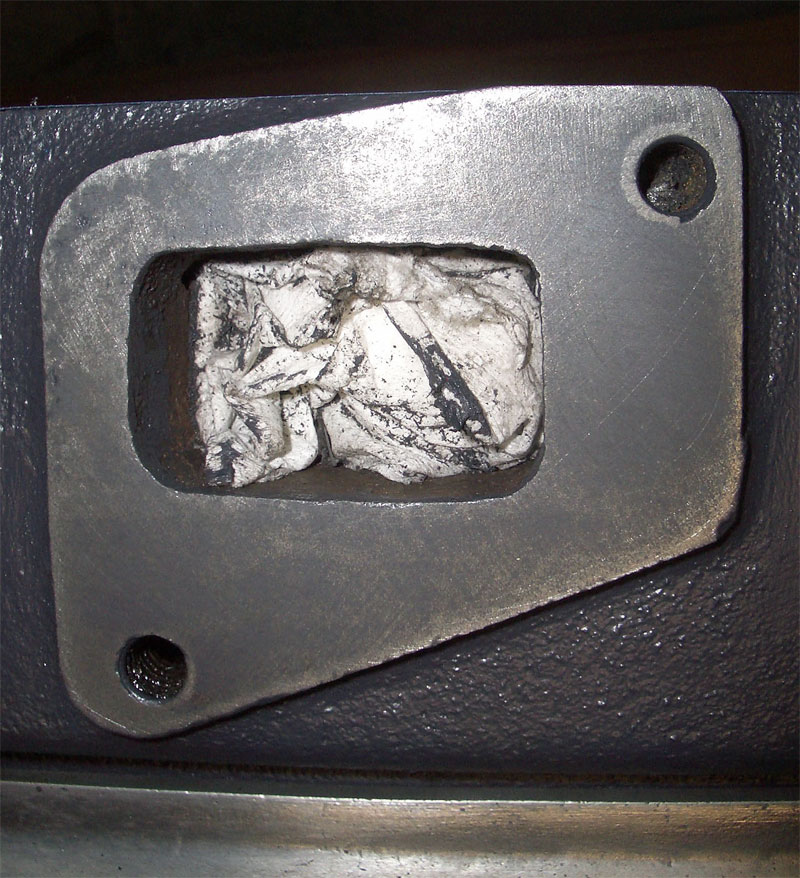
| ERODED EXHAUST PORTS: While cleaning the block for painting, significant erosion (top row) is observed around the mounting pad for the center three exhaust ports. Using multiple coats of Pyro-Paint followed by block sanding, Lynn fills the pits in the exhaust ports (bottom row). The ports shown are (left to right, in the order as viewed from the right side of the engine): port 5 (cylinder 6), port 4 (cylinder 5), port 3 (cylinders 3 & 4), port 2 (cylinder 2), and port 1 (cylinder 1). |
 |
 |
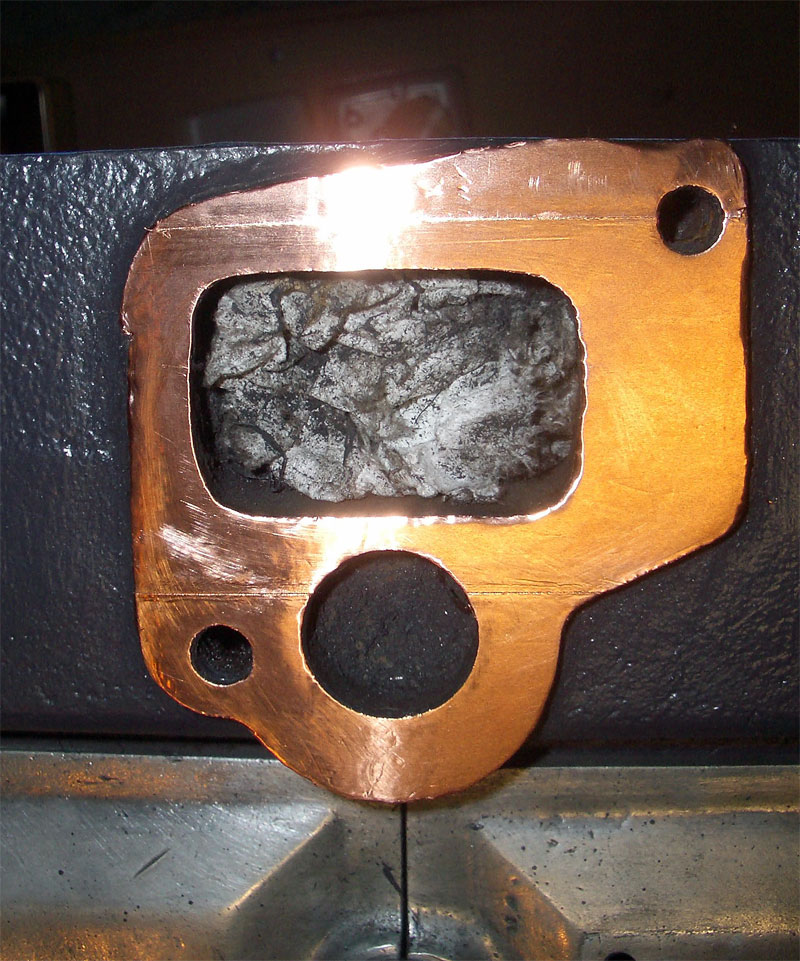 |
| EXHAUST PORTS NOT FLAT: Using a straight edge and feeler gauges, Lynn finds that the center ports aren't on a flat plane with the end ports. Port 3 (cylinders 3 & 4, left) is recessed by about 0.007", while ports 2 (cylinder 2) and port 4 (cylinder 5) are both recessed by about 0.003". Using layers of 0.004" copper tape, Lynn restores the height of the center exhaust ports (center, right). |
Work Completed:
While cleaning and painting the engine, Lynn observes
significant erosion of the mounting pads for the center three exhaust ports. The center most port,
port 3 (cylinders 3 & 4), shows the most erosion.
Further, the all the ports are not flat along a single plane.
Lynn takes these steps to correct the problems.
While straightening the exhaust manifold, it was discovered that the manifold was significantly distorted and the center exhaust ports needed to be filled by about 0.050" before the manifold could be straightened. Here Lynn finds that port 3 is recessed by about 0.007".
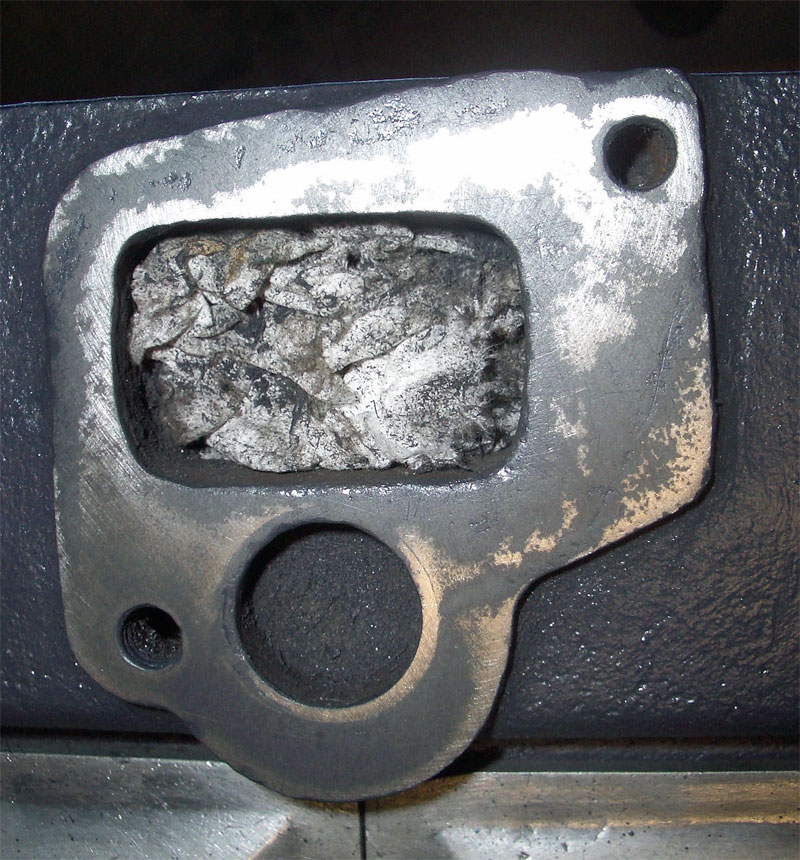
Note that the major erosion on port 3 is outside of the gasket outline, the distended and raised rectangle connecting the two stud holes. Apparently this erosion isn't from a leaking exhaust port, but rather due to oxidation of bare hot metal exposed to the atmosphere. Lynn will make sure that all the metal gets a good protective coating before the engine is reinstalled.
Lynn also notes the extremely thin mounting pad on the bottom of the port, between the port opening and the clean-out plug for the intake. Close inspection of the picture reveals evidence of exhaust gases that have been escaping over the edge of the clean-out plug. Lynn believes this is another design weakness of this center port. Yikes! This the third weakness that Lynn thinks he's observed for the center port (twin use of the single port by cylinders 3 & 4, thin sagging portion of block separating the twin exhaust valve seats, and now thin sealing flange).
Lynn pulls the mounting studs and acquires new ones at a local auto parts store. While Lynn thinks he can easily "pull" the exhaust manifold down the 0.003-0.007" needed to seal the center ports, he's concerned that the flanges on the engine are not flat and won't make a good seal.
His first attempt to fill and level the pits using AREMCO Pyro-Putty™ 2400 and flat sanding was not a success. The putty did not stick well to the metal and easily flaked off.
Next he tries repeated coats of AREMCO 1200°F Pyro-Paint™ with flat sanding between coats. The paint sticks well to the metal and he obtains a relatively flat finish as shown in the photos.
Lynn builds up the height of the center exhaust ports using some 0.004" thick copper tape. Port 3 requires two layers while ports 2 and 4 require a single layer.
This is further evidence of stress around the exhaust ports of cylinders 3 & 4 that Dave Arnold had warned Lynn about. Hopefully the straightening of the exhaust manifold, filling of the erosion pits in the block mounting flanges, compensating for the recessed engine exhaust ports with thickened gaskets, and the installation of new studs, washers and bolts will prevent any future leaks.
Work Remaining:
None.
Contact
 with your comments or questions
Copyright © 2018 Lynn Kissel
Last updated: May 24, 2009