
The Serious Freshening
Go to <Last, Summary, Next>Chassis—Split Gas Tank
 Lynn in Bugsby, September 5, 2005 |
Completed: 2006-09-03 — Started: 2006-09-17
 |
 |
 |
 |
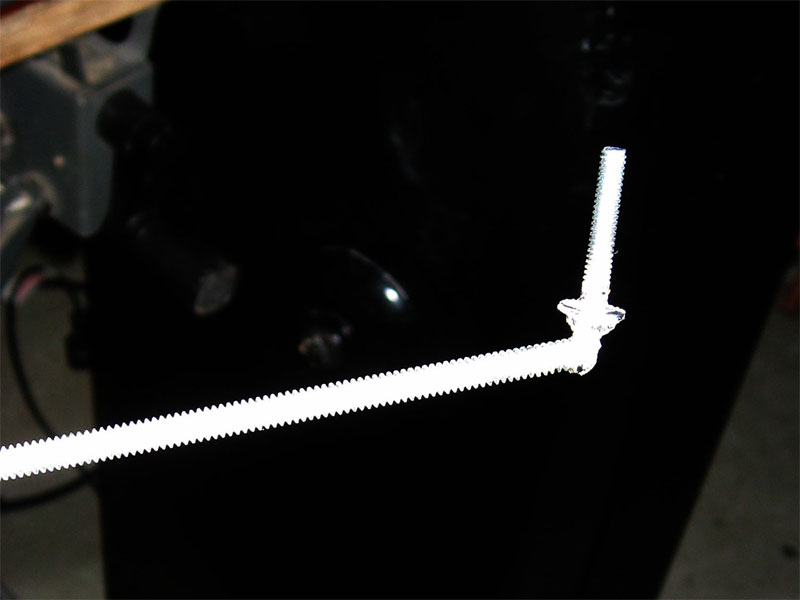
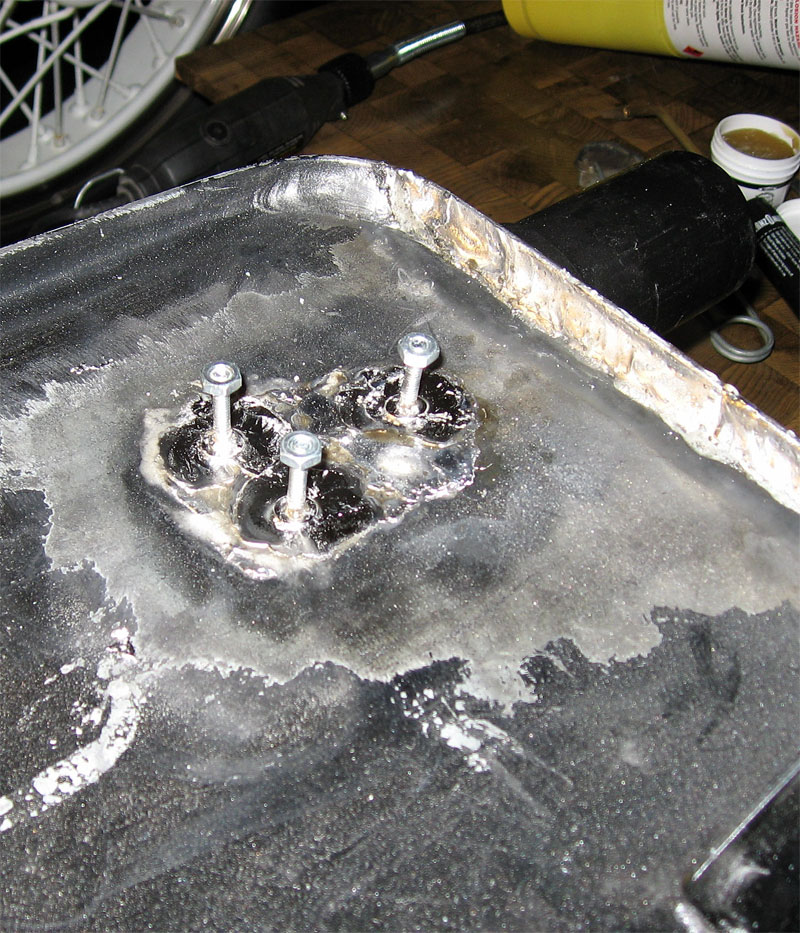
| SOLDERING THE TANK: A six-inch section of a soldered seam is found to be open and spilling fuel. To gain access one of the riveted mounting brackets needs to be removed (left). After sealing the seam, Lynn solders small machine bolts to the end of a metal rod so that he can feed them through the narrow filler tube and through the wall holes from the inside (left center). Breaking the rod off the bolts after they are in position, Lynn solders the bolts to seal them in the holes (center right). Finally the bracket is bolted and soldered back on the tank (right). |
 |
 |
 |
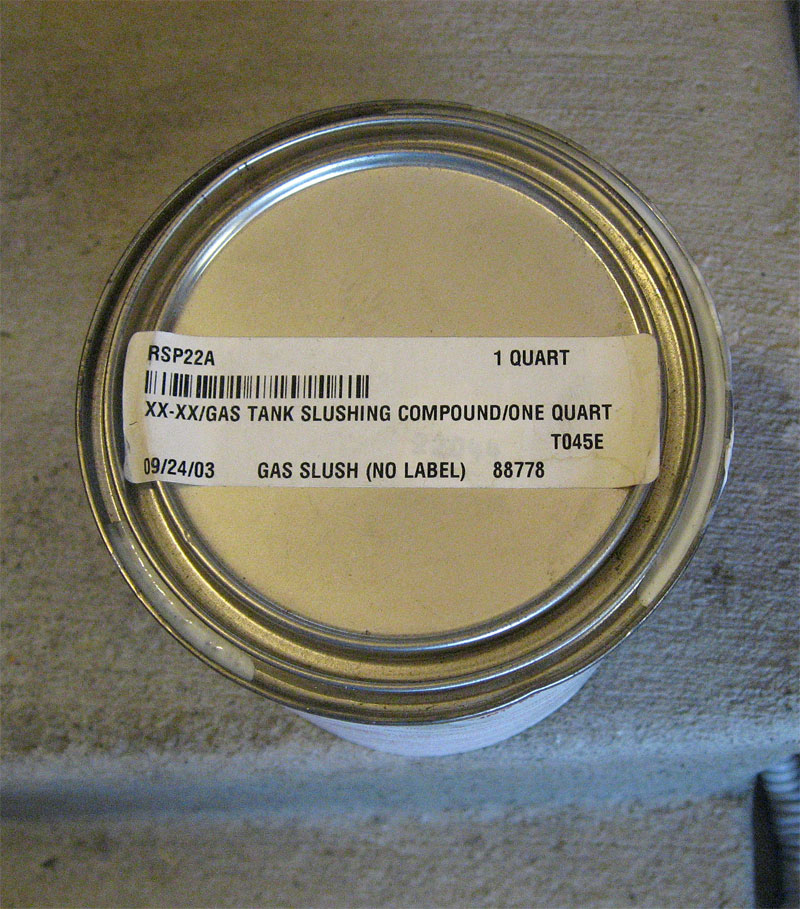
| SLUSHING THE TANK: To help assure no further leaks, Lynn uses a gas tank sealer (left, center). After pouring the sealer into the tank and sealing all the holes, the tank is rotated by hand to move the liquid (slush) around all the interior surfaces (right). The excess sealant is drained and the tank is left to dry for a couple of days. |
Work Completed:
On the drive to Hartford to participate in the
100 year anniversary celebration
of the Kissel Motor Car Company,
Lynn was greeted by the strong odor of gasoline every time he checked on Bugsby in the
trailer.
Lynn used rags and duct tape to try and isolate and stop the leaks. In spite of his best
efforts, Lynn was never successful in eliminating all the leaks, or even in determining their locations.
Lynn had been thinking that the leaks were from the fill spout or the gas gauge spout. After filling the tank on Sep. 3 and tying paper towels around all the suspected leak spots, Lynn tailers Bugsby home and finds gasoline running out of the back of the closed trailer as he parks the rig in front of his house. To his utter amazement, none of the paper towels that he placed at his suspected leak points were soaked in gasoline. Instead he traces the leak to a split seam on the top of the tank, nicely hidden behind the car's frame. So at last he found it, a six inch section of the top seam of the tank had split and it only leaked when the tank was subject to strong shaking as when the car was being trailered.
Lynn finds that the tank has soldered seams and he can not easily find a shop that will touch this problem. Working with a gas tank is dangerous, especially when it is nearly empty as the air-and-gas mixture is a highly explosive combination. Lynn uses a shop vacuum to blow air through the tank for several hours to evaporate and clear out the residual gas. After repeating this process on two separate days (and sticking his nose inside the tank to check his work), Lynn feels it is safe to proceed.
Lynn needs to remove one of the mounting brackets by grinding off rivet heads. He uses a torch and solder to reseal the seam. He mounts small machine screws from inside the tank to replace the rivets and remounts the bracket.
Using a generic fuel tank sealer, Lynn "slushes" the inside of the tank in an effort to seal any remaining holes and preclude future leaks.
Work Remaining:
None.
Contact
 with your comments or questions
Copyright © 2018 Lynn Kissel
Last updated: May 24, 2009