
The Serious Freshening
Go to <Last, Summary, Next>Chassis—Clean Springs And Install Inserts
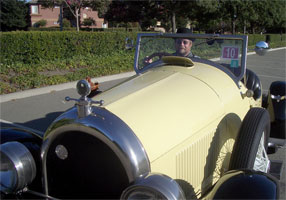 Lynn in Bugsby, September 5, 2005 |
Completed: 2006-05-20 — Started: 2006-04-02
 |
 |
 |
 |
 |
 |
 |
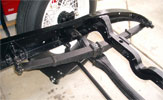 |
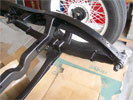
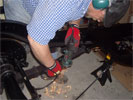
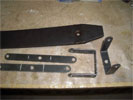
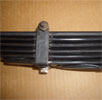
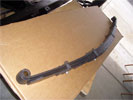
| CLEANING SPRINGS: After media blasting and painting the springs appear clean (top left), but there's water and rust and blasting media between the leaves that is only visible after disassembly (top left middle). Andrew (top right middle) and Lynn (top right) remove, disassemble, clean and paint all four springs. Inserting channel shaped poly sheets between the spring require new spring clips and bolts to accommodate the increased thickness (bottom row). |
Work Completed:
Lynn admired the spring gaiters that he saw on DeWayne Ashmead's 1925 Kissel Speedster.
Before he enclosed the springs to keep out dirt, Lynn thought that he should clean and
lubricate the springs.
He has heard about inserting plastic sheets between the leaves as a form of dry lubricant
and he needed four 20' roles of Poly-Slide channel shaped plastic from
Restoration Supply Company to do the four springs.
In early April, Lynn sets out to disassemble, clean and reassemble the springs on Bugsby. Lynn estimated that this will be a one-weekend job. Boy, was he wrong. In the end it required most of six weekends and the help of Lynn's son Andrew to complete this job.
When Lynn disassembles the springs, he's not too surprised to find that they are rusty. He was surprised to find the amount of thick rusty water that was trapped in the rear springs. This was likely the result of the pressurized spray wash of the frame that was performed before the frame was stripped and painted. Since it had been three months since the painting was completed, the water must have been sealed in the springs by the paint. Lynn was glad that he decided to open and clean the springs before he encased them in gaiters.
Another surprise was that the plastic sheets added enough extra thickness to the springs that Lynn needed to fabricate new spring clips and assembly bolts. In retrospect it made sense since the plastic had an effective thickness of about 0.050" per layer. The rear springs had six layers inserted so the thickness increased by more than 1/4 of an inch.
Work Remaining:
None.
Contact
 with your comments or questions
Copyright © 2018 Lynn Kissel
Last updated: May 24, 2009